
Microsoft has been trying to eradicate its various “Aero” features ever since the release of Windows 8 and with the entirely new design guidelines that came with Windows 10, there is little chance of the company bringing back features like Aero Glass. People who are making the jump from Windows 7 already have a ton of new stuff to deal with and now they might find that Glass is not even available as an option. Microsoft universal OS and its focus on clean, elegant UIs means that getting the shine back into your Windows is going to require some of your time, a bit of patience, and the help of third-party tools.
Note: Though it is not exactly the same, Windows 10 does have an option to turn the taskbar, Start menu, and Action Center transparent. The option can be found in Settings > Personalization > Colors near the bottom of the page.
Glass2k
For our first option we have a tiny app that requires no installation and can be used to apply the Glass effect in various areas. As you can see, the app is actually very old and has not been updated in years yet it works just as fine in Windows 10 as it did in previous versions of the OS. After running the application, you will notice a bunch of different options. To start with, change the transparency of the taskbar by moving the blue bar at the bottom. Then, go to your Start menu and press Ctrl + Shift + any number between 0 – 9 to adjust transparency levels. If that fails to work, right-click on an empty area of the Start menu and try again.

Aside from that, Glass2k offers the option of setting transparency levels in individual windows. The default action to activate the Transparency menu is to right-click on a window though that might interfere with your normal operations so you might want to change it from the “Transparency Popup” dropdown menu. Once you activate the pop-up, select a level form the list and the effect will be applied immediately. If you like Glass2k and want to keep it, remember to select the “Auto-Load Glass2k every time Windows starts” option otherwise you will have to run the app manually every time. You can also choose to remember the settings for each window which is incredibly handy unless you somehow enjoy applying new settings all the time.
“Aero Glass for Win 8.1”
Despite the name, this app has actually been updated to work with Windows 10, even after the November update. The app is pretty great at applying the Aero Glass effect (though there are some issues with the Start menu) but there is one very important thing to note about it as the free version is nearly unusable. Not only will you get a watermark at the bottom right edge of your screen but the app will also pop out a message at random times, asking you to buy the full version. If you are willing to pay for it, go ahead and try it out, otherwise you will probably uninstall it after a while anyway.
Visit the download page and get the “Installer (32-bit + 64-bit Windows) as it will work on any computer. During the installation, make sure to uncheck the “Install Aero Glass theme” option if you are planning on using a custom theme. Furthermore, you should not enable Glass for modern apps unless you are certain that secure boot is off.
After installing the application, there is not much else you can actually do. The effects are applied automatically so there is nothing for you to configure. To remove the transparency effects, you would have to uninstall the application entirely.
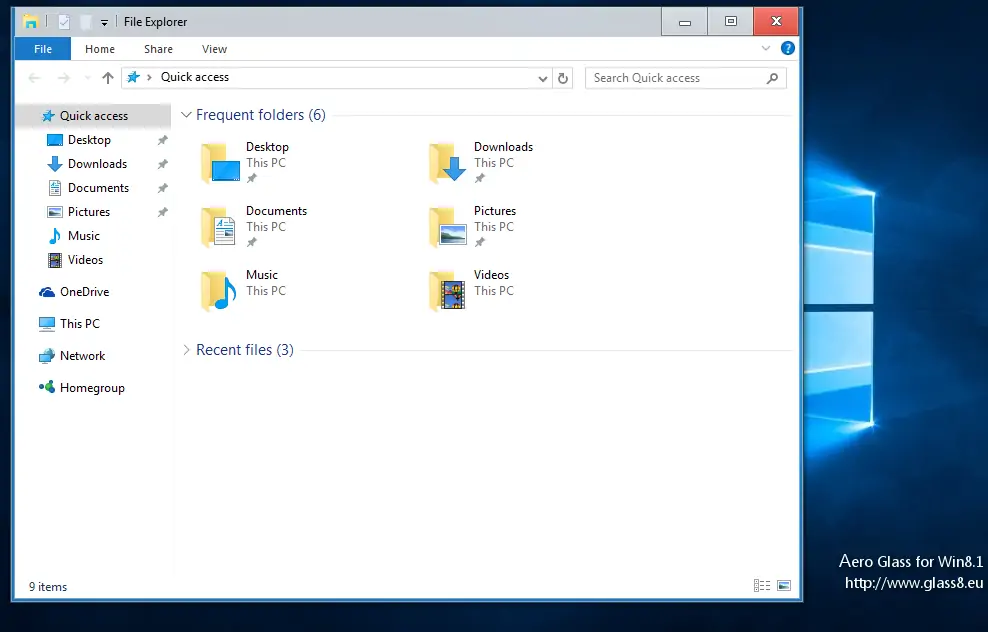
Winaero Tweaker
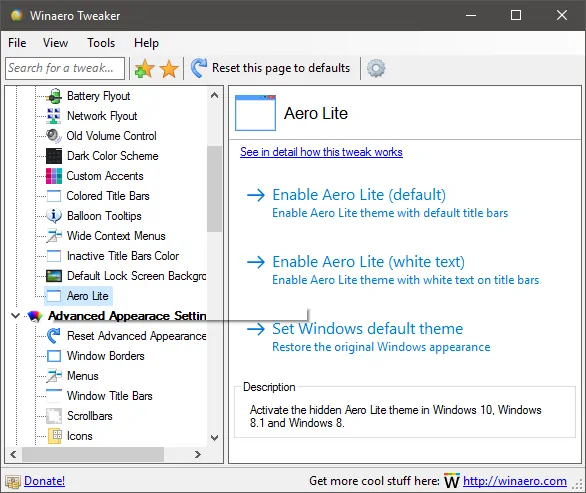
The Winaero Tweaker app from the eponymous website is a fantastic utility that contains a lot of customization tweaks for Windows 10, one of which is the Aero Lite theme. Download the ZIP, extract its contents in a folder of your choice and run WinaeroTweaker.exe. Scroll down and you will find an item called “Aero Lite”. Click on it and you will get two different options for the theme: default title bars and white text on title bars. Select your choice and the option will be applied automatically. To revert the changes, either select a new theme or click on the “Set Windows default theme” option.
Aero Glass themes
If you look around the Web, you can find quite a lot of themes that use the Aero Glass effects. For instance, take a look at this theme from DeviantArt user sagorpirbd which has been updated to work with the latest Windows 10 updates. Before you go any further than this, it is vital that you backup your system, create a system image, or at least set a restore point because the changes you will make are not all easily reversible. The tutorial is courtesy of CleoDesktop, along with a serious warning to use appropriate themes for your version of Windows. Themes exist for Windows 10 RTM (Build 10240) and the November Update (Build 10586).
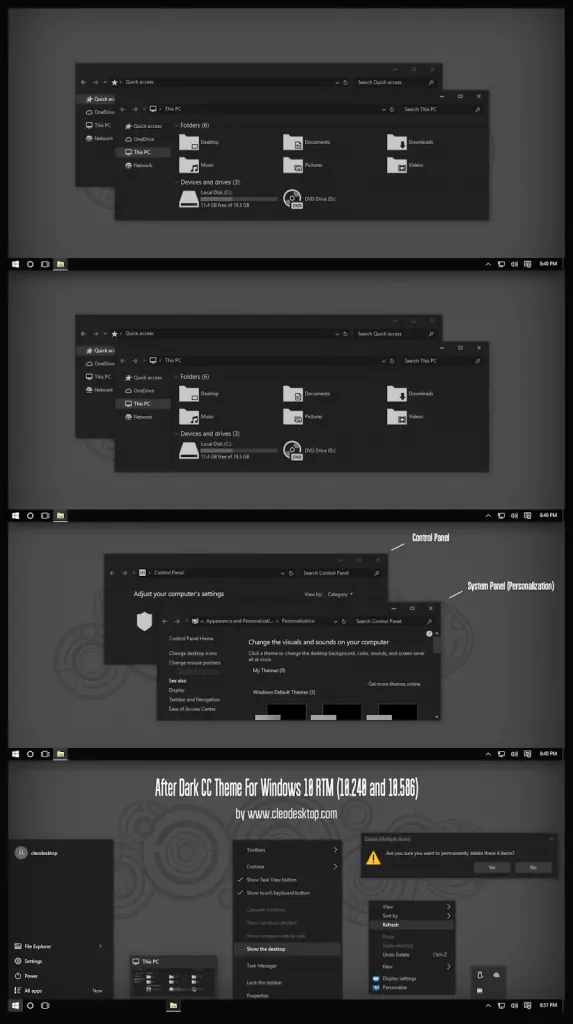
Apply to new PCs:
- Download and run UxThemePatcher for the November Update builds.
- Try the “After Dark CC” theme and see if it works. If it does, you can start download and installing appropriate themes right away. Note that themes should be placed in C:\Windows\Resources\Themes.
In case that fails:
- Download the Theme Patcher.
- Navigate to your C:\Windows\System32 folder and find a file called dll.
- Take ownership of the file following the steps on this guide. The Patcher archive you downloaded before includes a .reg file that can add a “Take ownership of this file” in your context menu which you can use, if you wish.
- After taking ownership of the file, rename it to dll.del. Then, copy the other themeui.dll file found in the “File Patch” folder of the archive and place it in the System32 folder. To quickly check whether you are on a 64-bit or 32-bit (x86) system, right-click on your Start menu, open the System utility and look at the “System type” field. Note that you will need administrative privileges to confirm the file transfer.
- Once that is done, take the remaining files from the File Patch folder and copy them to System32 as well.


")


