
Such errors don’t happen often but every once in a while a Windows 10 user profile can become corrupted, preventing you from signing in. It’s possible to recover your lost user profile in Windows 10 so keep reading to find out how!
It can take time to customize all the system settings that are important to you which is why it can be a pain to lose a Windows 10 user account. All your personal settings are stored in your user account, including browser history, your desktop wallpaper, and taskbar settings.
How to recover your lost user profile in Windows 10
The method below enables you to recover your lost user profile in Windows 10 and should work in most cases. However, even if it fails, we’ll show you how to create a new user with administrative privileges. You won’t get all your settings back, but you will be able to use your PC with full administrator rights.
When you fail to sign into your regular user account, you’ll be signed in using a temporary account. This error usually happens when an important Windows update has been terminated while it was still installing.
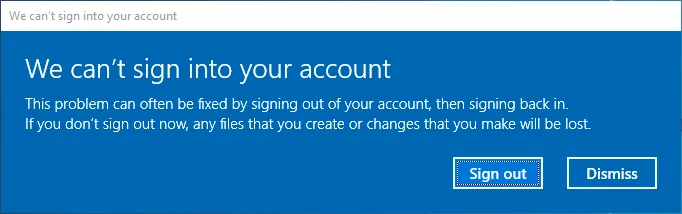
You’re going to see one of the errors below, or even both:
- “We can’t sign into your account”
- “You’ve been signed with a temporary profile”
Both of them will recommend you to sign out and try signing back in. It’s certainly worth trying it but the chances this will solve your problem are slim.
Using a temporary profile is not a good solution since all the changes you perform reset each time you sign out which is why you should try to recover your old profile.
To begin with, you will need to find the SID (security identifier) of the temporary user account you’ve been signed into. This string is used by the operating system to control permissions and group your interactions.
Click the Start button, type “cmd” and select the first result to launch the Command Prompt.
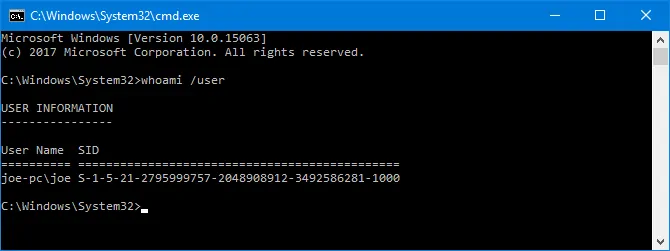
In the Command Prompt window, type whoami /user and hit the Enter key. This will retrieve the SID of the current account.
Copy your SID and store it in a text document. To do this, hit Ctrl + M to enable highlighting, left-click and drag over the SID then press Ctrl + C to copy it.
Now, you will need to tweak the Registry to recover your usual profile. It’s worth mentioning that performing changes to the Registry can damage the functionality of the operating system unless you know what you’re doing. So follow the instructions below precisely and there won’t be any problems.
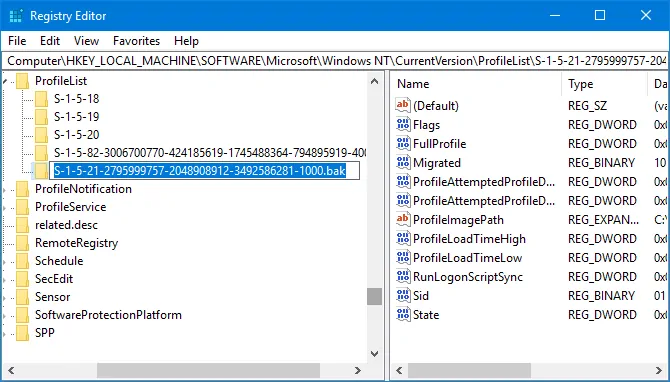
Click Start and type “regedit” then click on the first result to open the Registry Editor. Then, paste the path below into the address bar and hit Enter:
Computer\HKEY_LOCAL_MACHINE\SOFTWARE\Microsoft\Windows NT\CurrentVersion\ProfileList
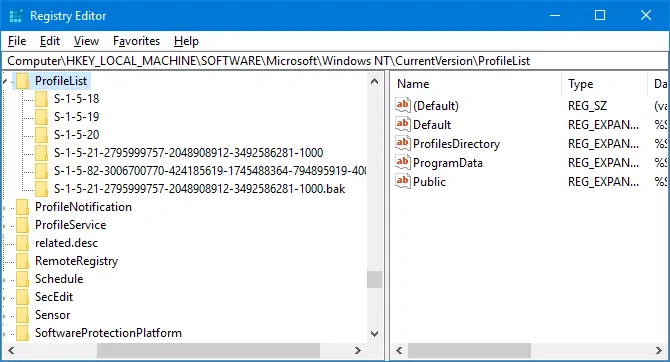
This will open the ProfileList folder – several SIDs should be listed there.
There are three possible scenarios:
- Your SID is listed twice, with and without a .BAK extension.
- Your SID is listed once with a .BAK extension.
- Your SID is listed once without a .BAK extension.
The method is similar for all scenarios with just a few differences. Follow the instructions below for the scenario that applies to you.
Scenario 1
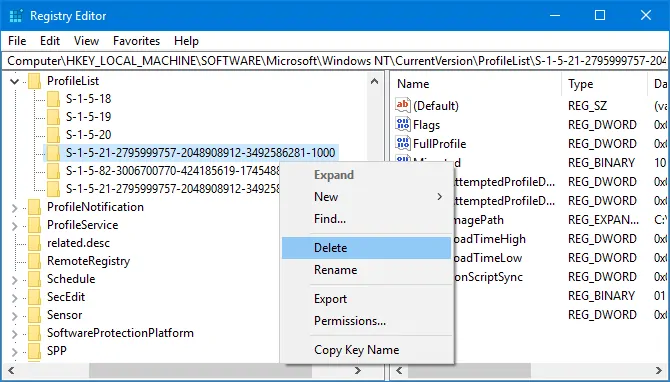
If your SID is listed twice, delete the folder without the .BAK extensions. To do this, right-click on the folder and click Delete, then click Yes to confirm your choice.
Scenario 1 and 2
If you’ve just deleted the folder without the .BAK extension or you had just the folder with the .BAK extension you will need to rename the .BAK folder. Right-click on the folder that matches your SID and has the .BAK extension, select Rename and delete .BAK from the end of its name. Hit the Enter button to apply the changes.
Scenario 1, 2, and 3
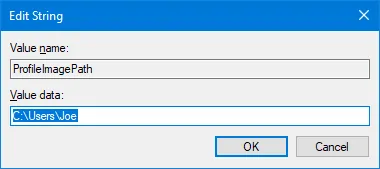
Regardless which scenario you started with you should now have just one folder matching your SID without a .BAK extension. Left-click on it in the left pane. On the right pane, double-click on the ProfileImagePath registry key to edit it. Enter the correct path for your user profile in the value data field and hit the OK button.
Note: If you don’t know or you’re not sure what your user profile path is, press Windows key + R to launch the Run dialog, enter C:\Users in the text field and click OK. A new window will open listing all your user profiles.
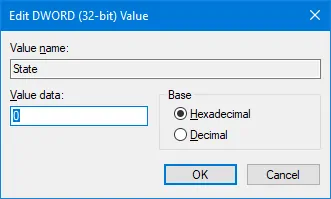
Assuming you’ve entered the correct path and clicked OK, go to the right pane in the Registry Editor and double-click State. Change the Value data to 0 and click OK.
Now you can close the Registry Editor and restart your PC. You should now be able to sign back into your original user account and everything should be running perfectly.
Create a new profile in Windows 10
The method above should allow you to recover your lost user profile in Windows 10 but if for some reason it didn’t work you’re going to need to create a new account with administrative privileges.
To start, you will need to boot your computer into safe mode. First, restart your PC and on the sign in screen press and hold Shift and click Power -> Restart. In Safe Mode, you should see a screen called Choose an option.
Navigate to Troubleshoot -> Advanced options -> Startup Settings -> Restart.
While your PC is rebooting, press F4 to enter Safe Mode.

After you’re logged in, click the Start button and search for “cmd”. Right-click on the first result and select “Run as administrator”. This will open an elevated Command Prompt. Enter the command below then press Enter:
net user administrator /active:yes
This command enables the hidden administrator account. Now you can restart your PC and sign into the new account.
Once your PC restarts, you can finally create a new account.
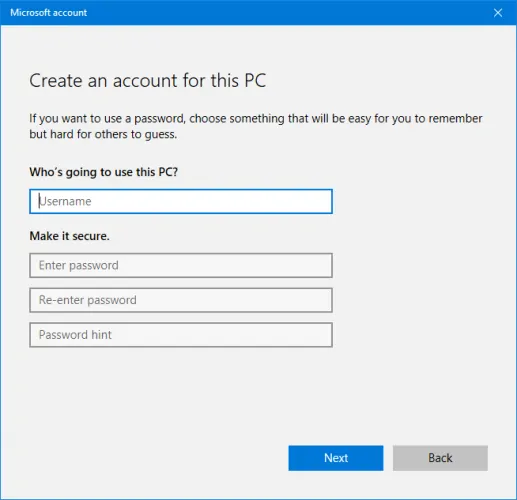
Go to Settings -> Accounts -> Family & other users. Select the “Add someone else to this PC” option and follow the instructions provided by the wizard. If you don’t want to create a Microsoft account and you want a local account instead select “I don’t have this person’s sign-in information” and then click “Add a user without a Microsoft account”.
The final step is optional but in most cases, it’s worth the effort. You can transfer all the files from the old and broken user account into the new one.
To do this, restart your computer and sign back into the administrator account. Hit the Windows key + R to launch the Run dialog, enter C:\Users then click OK.
Go to the old user account and copy/paste all your user files from the old account into the new one. The safest approach would be to copy the folders one by one to avoid transferring any of the system files that caused the problems in the first place.
Once you’ve finished copying the files between the two accounts, you can sign out of the administrator account and log into your new user account. You still have some settings to customize but at least you have all your files!


")


