
Windows 10 and older versions of the OS make it very easy to identify each drive and connected storage device as it assigns them relevant names. Take ‘Local disk’ for example – that’s the drive where the Windows operating system is installed -, or ‘Removable Disk’ which is a USB flash drive you have plugged into your computer. Even if these default names are rather straightforward, you might want to give them new names, so for this purpose, we’ll show you a few easy methods you can use to label and rename drives in Windows 10 (this also works for Windows 8.1)
Before we begin, please be aware the methods described below can be used to rename hard disk drives, USB memory sticks and flash drives as well as removable hard drives. You cannot use them to rename CD/DVD drives, Blu-ray drives or other optical drives.
Label and rename drives in Windows 10 and 8.1 with File Explorer
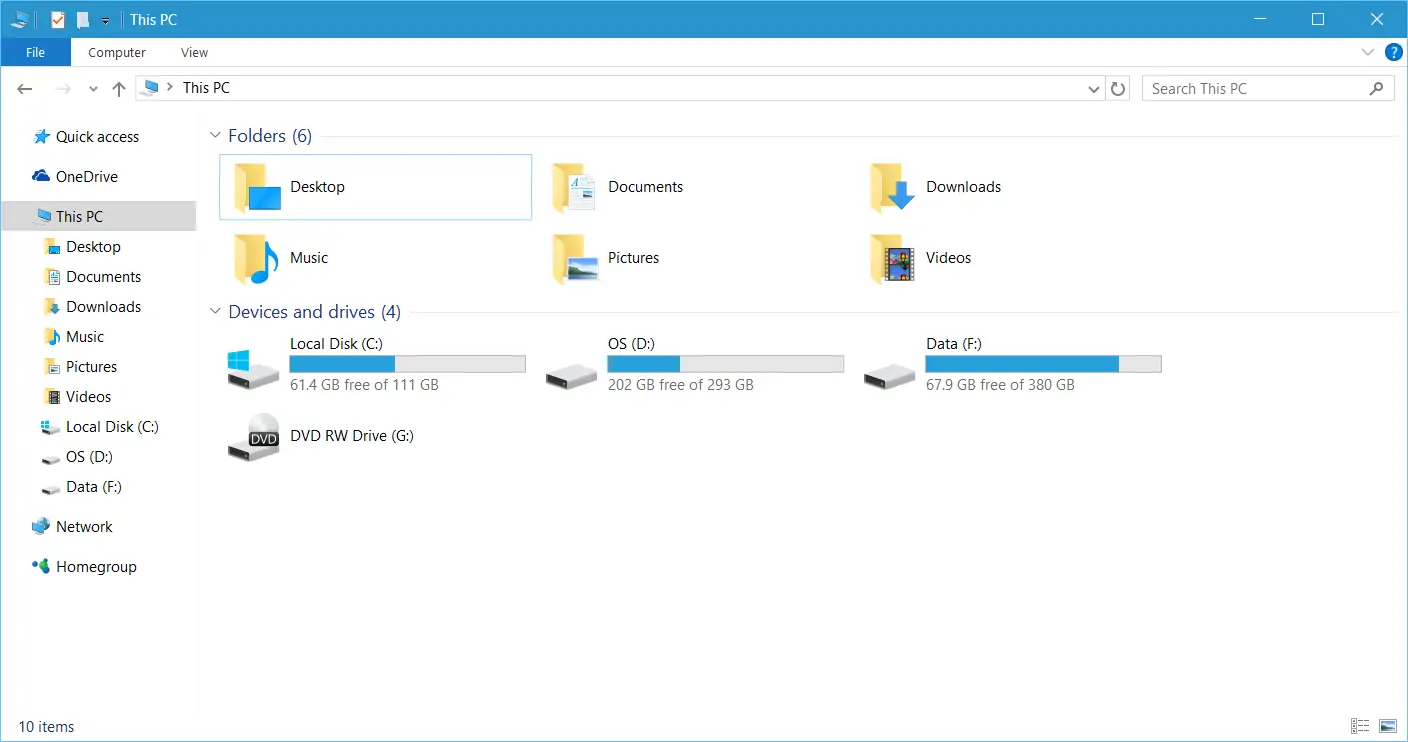
Open File Explorer and head over to This PC.
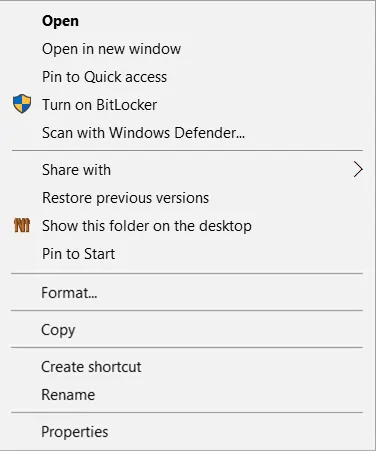
Select the drive you want to rename and right-click (or tap and hold if you’re using a tablet) on it. Select the ‘Rename‘ option from the context menu (yours might look a bit different depending on what apps you have installed, but the ‘Rename’ option should be there either way).
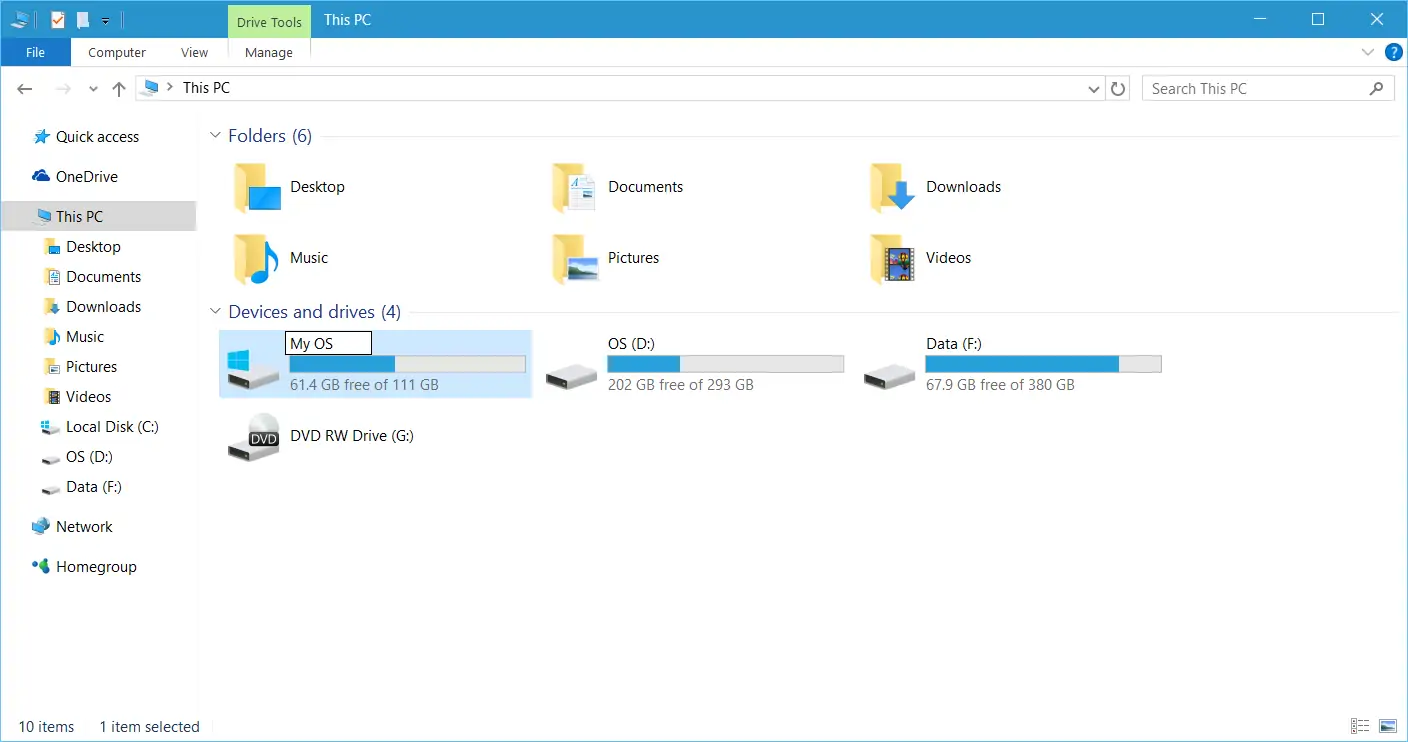
The drive’s name will become editable so you can simply type in the new name and hit Enter on your keyboard or click/tap anywhere outside the drive’s name field to apply it (administrative rights required to change the name of system drives).
Label and rename drives in Windows 10 and 8.1 using Disk Management or Computer Management
You can also label and rename drives in Windows 10 and 8.1 using the Disk Mangement tool. You can access it via the Computer Management console or jump right into its dedicated screen.

For the first option, right-click or tap on the Start button and select Computer Management from the list of options.

In the Computer Management window, select the Disk Management section.

If you want to open the Disk Management tool directly, you can launch it from the power user menu accessible via right-click or tap on the Start button.

Whichever method you choose to access Disk Management, you’ll need to access the drive’s Properties in order to rename it. To do this, right-click or tap and hold on the drive you want to rename, then select Properties from the context menu.
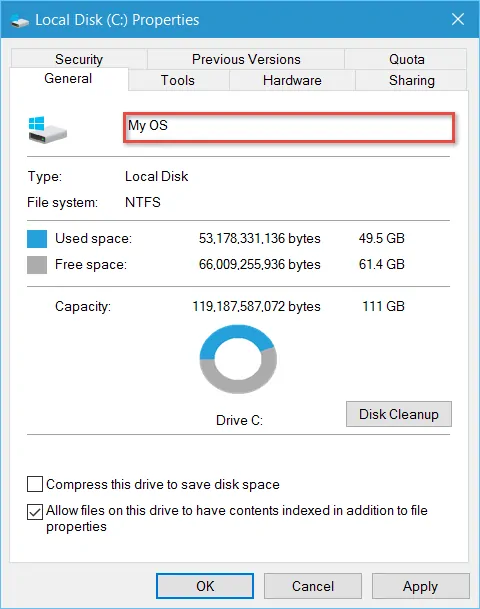
In the Properties window, you can enter the new name for the drive in the dedicated field on the General tab. Click OK to apply the changes and close the window.From then on, you will see that drive listed with the new name in File Explorer.
From then on, you will see that drive listed with the new name in File Explorer.
Label and rename drives in Windows 10 and 8.1 via Command Prompt or PowerShell
Using a basic text command to rename a drive might seem a bit geeky, but it’s super fast.
To begin with, you’ll have to open a Command Prompt or a PowerShell instance (administrative rights required).
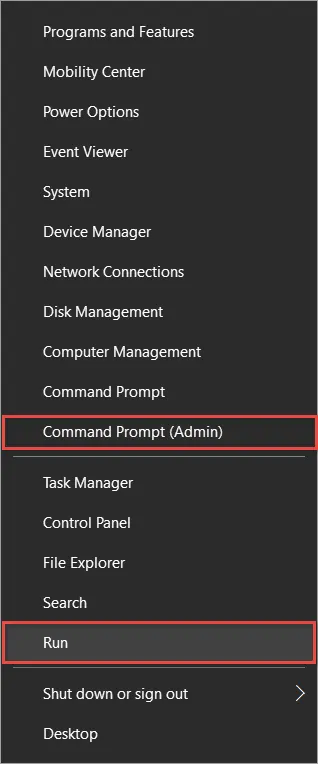
Right-click or tap on the Start button to access its Power menu. There, you can:
a) Launch the Command Prompt by selecting the Command Prompt (Admin) option.


b) Select the Run option and type in ‘cmd‘ (to open a Command Prompt windows) or ‘powershell‘ (to launch a PowerShell instance) and then click or tap the OK button.
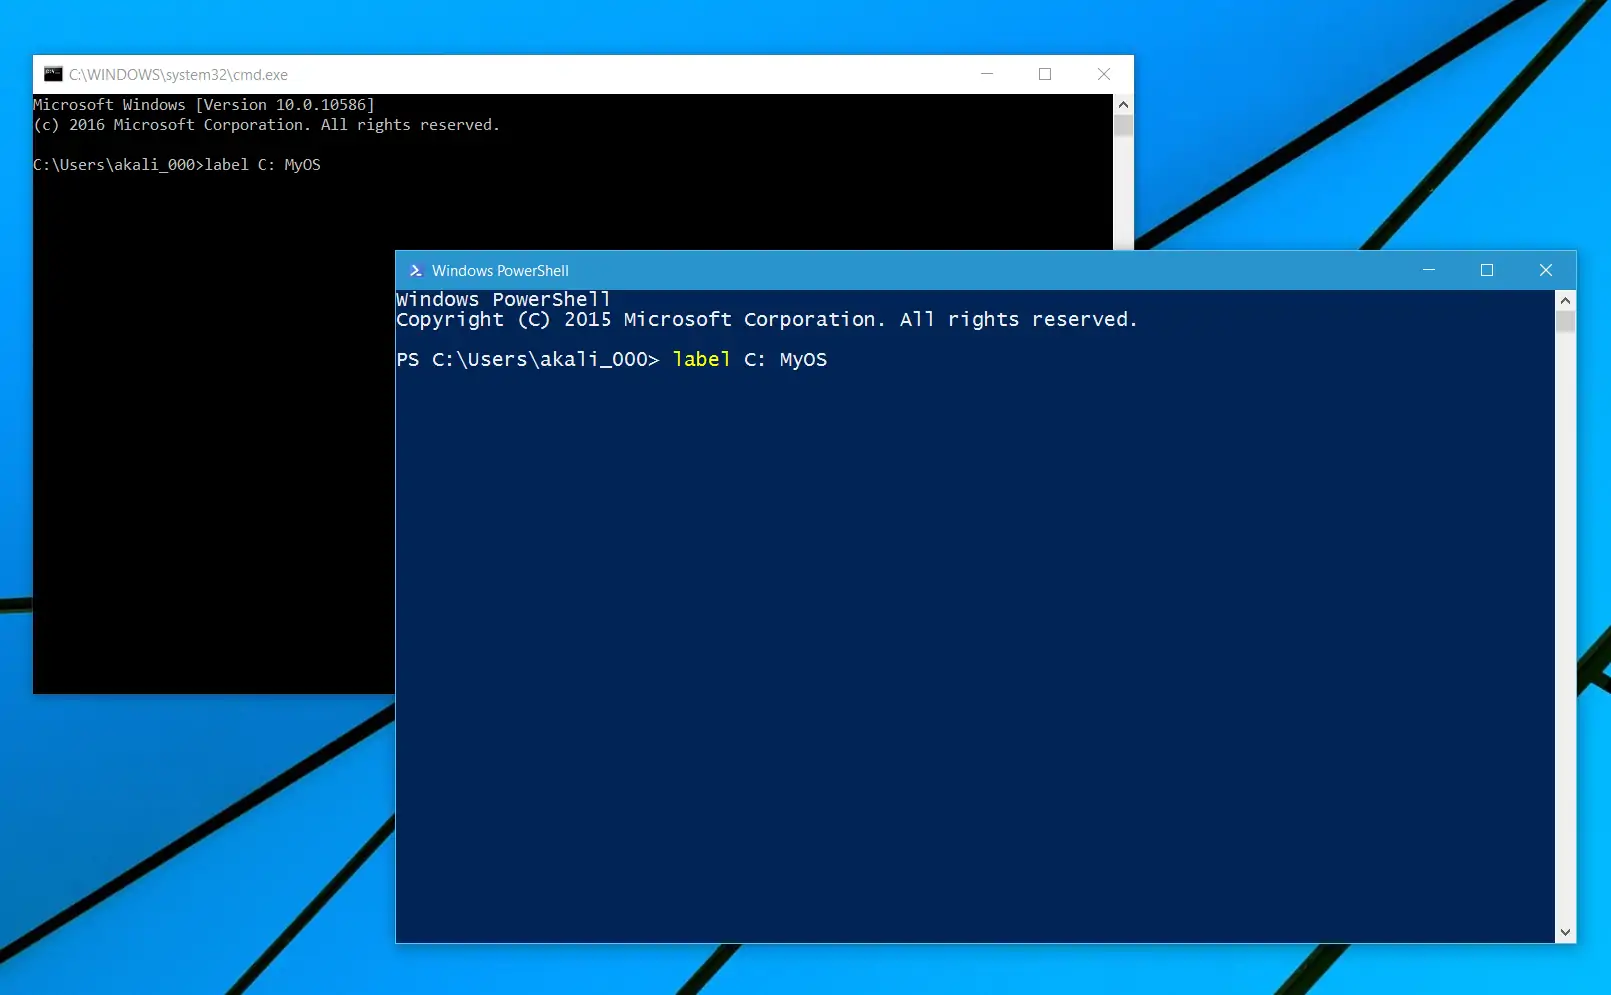
Once the Command Prompt or the PowerShell window is open you’ll need to type in the following command:
label C: DriveName
The C: letter is actually the letter of the drive you want to rename. So if you want to rename the 😀 drive replace it accordingly. The DriveName parameter can be replaced with the new name you want to assign to the drive. For the purpose of this guide I used the ‘label C: MyOS’ command which will rename my C: drive from Local Drive to MyOS. Hit Enter on your keyboard to apply the new name.
Now if you check your drive in File Explorer, you’ll notice it has the new name you typed in Command Prompt or PowerShell.


")


")