
Since Windows 8, Microsoft has introduced a host of automatic maintenance tools in the operating system that aim to take care of important tasks without bothering the users. Microsoft went a bit too far on the “automatic” part as they have kept details about the utility well hidden away.
Too well, perhaps, as Windows itself does not actually offer any information on what those pesky maintenance tools are doing in your PC.
What is Automatic Maintenance?
At specific times when your computer is idle, Windows automatically initiates a bunch of tools that maintain the stability of your computer. The tools perform a wide variety of tasks including software updates, checking for solutions to Windows problems via the Error Report tool, optimizing Windows services via the .NET optimization service and defragging your hard disks. In theory, the tools are only started when your computer is idle and you are not using it but it does not always work that way. Windows really likes to run the maintenance tools so if your computer is not actually on at say, 2AM in the morning when the maintenance is originally scheduled for, it will just run the next time your computer is “idle”. Windows is not really great at recognizing when you are not using your computer though, which may cause some annoying issues.
Automatic Maintenance settings
As I am sure most of you understand by now, Microsoft does not want people to mess around the maintenance settings so the options you have for the service are limited, to put it mildly. The settings can be found in one of two ways:
1. Search for automatic maintenance in your Start menu and select the first option that appears. Note that the item should say “Change Automatic Maintenance settings”.
2. Open the Control Panel and go to System and Security > Security and Maintenance. Then, expand the “Maintenance” menu and click on the “Change maintenance settings” link.
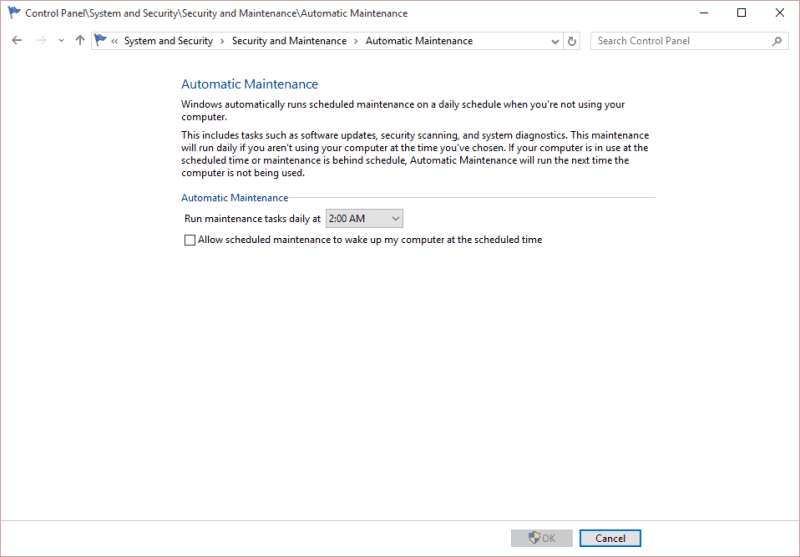
The menu is the same anyway and you will only have two options here. You can change the time the maintenance tasks will run at and you can also allow the utility to wake up your computer from sleep mode in order to perform them. If you choose to enable this option, Windows will wake up your computer, perform the maintenance tasks and then put it back to sleep as if nothing ever happened.
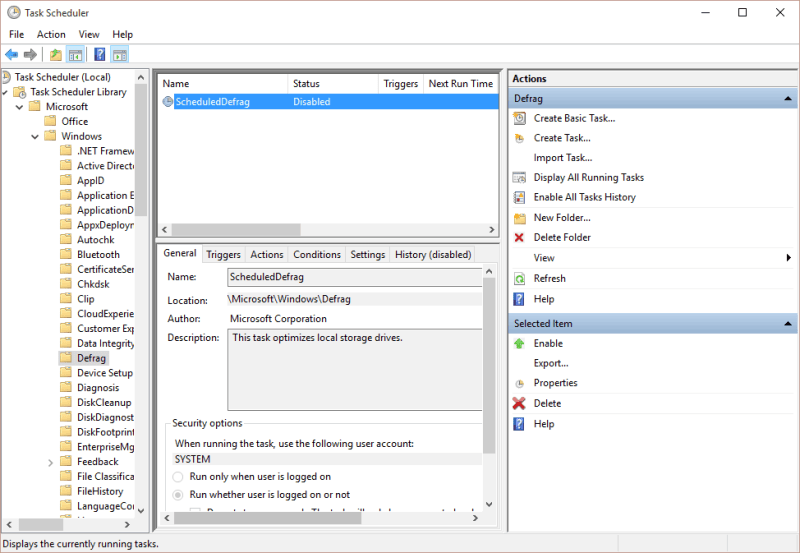
Unfortunately, there is no easy way to disable Automatic Maintenance anymore. In previous versions, all you had to do was disable the scheduled maintenance via the Task Scheduler. In Windows 10, however, each task performed by the Automatic Maintenance utility has its very own entry in the Task Scheduler. What that means is that you are going to have to disable each and every one of them manually. For reference, the tasks can be found at Task Scheduler Library > Microsoft > Windows.
Run maintenance tasks manually
If you want to run maintenance tools manually for whatever reason, Windows provides you with several options to accomplish that. The most obvious one is located in the Security and Maintenance window where you can click on the “Start maintenance” button and let Windows do its thing. This is the best thing to do when you know you will not be using your computer as the maintenance needs to run daily anyway.
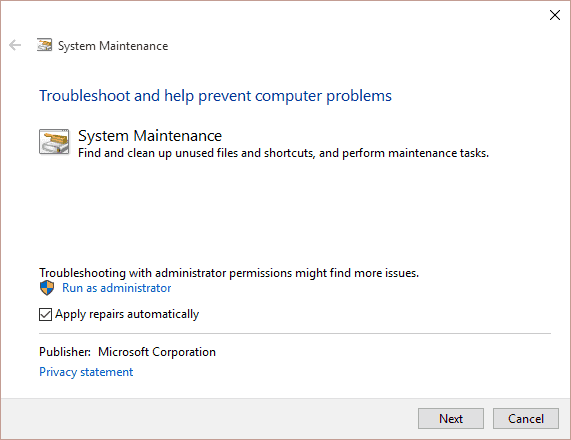
Another option is to use the System Maintenance tool which will check for errors and other smaller problems in your computer. To do that, type maintenance in your Start menu and select the “Perform recommended maintenance tasks automatically”. The tool looks like any other Microsoft troubleshooter so just click on Next and let it find and fix any problems it finds. If you would prefer to select the repairs manually, click on the “Advanced” button in the first page of the tool and uncheck the box that reads “Apply repairs automatically”.
Other maintenance tasks
The Automatic Maintenance may be the central hub of your operating system’s maintenance utilities but similar tools can be found elsewhere too. Windows update, for example, will now constantly check for updates and pretty much force you to apply them as Windows 10 has made them mandatory for (almost) everyone. All the other tools can be found in their respective places.
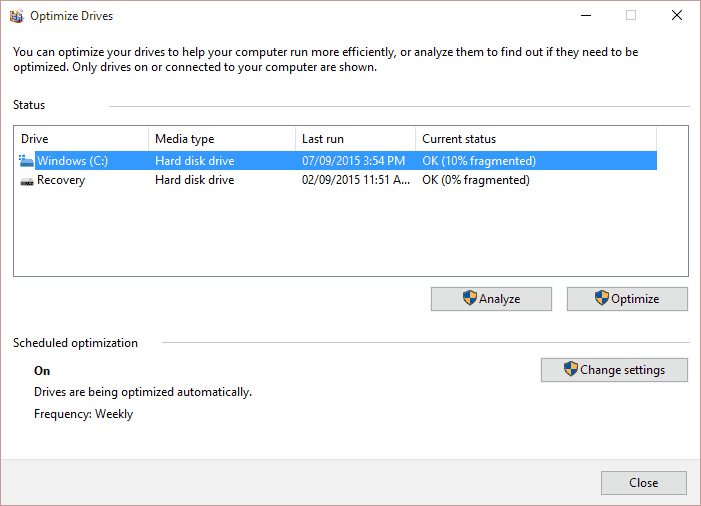
For instance, the defragging tool is actually a standalone utility which has been integrated into the “hard disk optimization” tools which were first introduced in Windows 8. More information on that can be found on our guide here. Note that the post was made for Windows 8 but it is exactly the same in Windows 10.


")


